This is part of the main review for the Favero bePRO which just covers the less interesting installation, firmware/software and configuration sections.
————————————————————————————————
Firmware & Software
With any bit of kit (not necessarily sport-related) I like to make sure the software is up-to-date and check and parameters that can be configured through that software.
On Windows 8.1 I downloaded and installed the bePRO updater found (here).
The software seemed good. Functional and to the point. Here are a few screen shots in a slideshow from which I will take some salient points. I connected both pedals via USB before starting.
- Shipping Mode: The units power up easily. Perhaps too easily. Normally this will not be a problem but transporting them by car/plane may well take a big drain from the batteries. For this reason, I believe, Favero have a less sensitive ‘shipping mode’ for their product.
- You can see the default crank length of 172.5mm and the options to change it.
- You can see firmware 1.008 and the option to update to a later version, if available.
- I did associate the two pedals together, giving them (I Think) the same ANT ID. This may have already been done at the factory.
- There’s an options to boost or lower the reported power from either pedal.
Whilst plugged in to the PC the pedals started charging. Whilst the battery state is NO recorded in the PC software (it should be!) the flashing LEDs on the pedals give an indication of charging status depending on how they are flashing. That’s fine.
Installation
My brain did not get in gear when I read the installation manual perhaps daunted by the array of torture instruments provided by Mr Favero! So I watched this video which allayed ALL my concerns within a matter of a few short minutes.
https://www.youtube.com/watch?v=WyqXLh3plwk
So you need to do two basic steps. They are not obvious and you need to understand what to do before starting. As I say the above video is good.
Installation: Step A
The next step, Step B, requires a sticker to have been precisely placed on each crank arm of each bike you intend to install the pedals on. 4 stickers are supplied which, if you do the maths, is enough to do 2 bikes and of course you can buy more. The stickers ARE REALLY useful. If you intend to switch the pedals regularly you really do need the stickers on the cranks the next time you bring the pedals back to that bike.
The crank surface should be spotlessly clean of grease to ensure the sticker stays on for the months to come.
Here are the torture tools for sticker placement and pedal attachment a bit more than your usual spanner!


The positioning guide (shown above with ‘OK’ on it) is held by each of the aluminium/silver rods which are cleverly marked ‘L’ and ‘R’ and also showing the direction in which they are turned.
Whichever side of the bike you are on you screw the opposite crank’s rod in first – on the inside of the crank so that it goes through the frame. Dangle the positioning guide from it and it’s pretty obvious what to do with the other aluminium rod. The video shows you and hopefully this slideshow gives you a more brief flavour. This bit’s really quite easy and you smile as the sticker gets put in the sticker-sized hole at the end of the process – as shown!
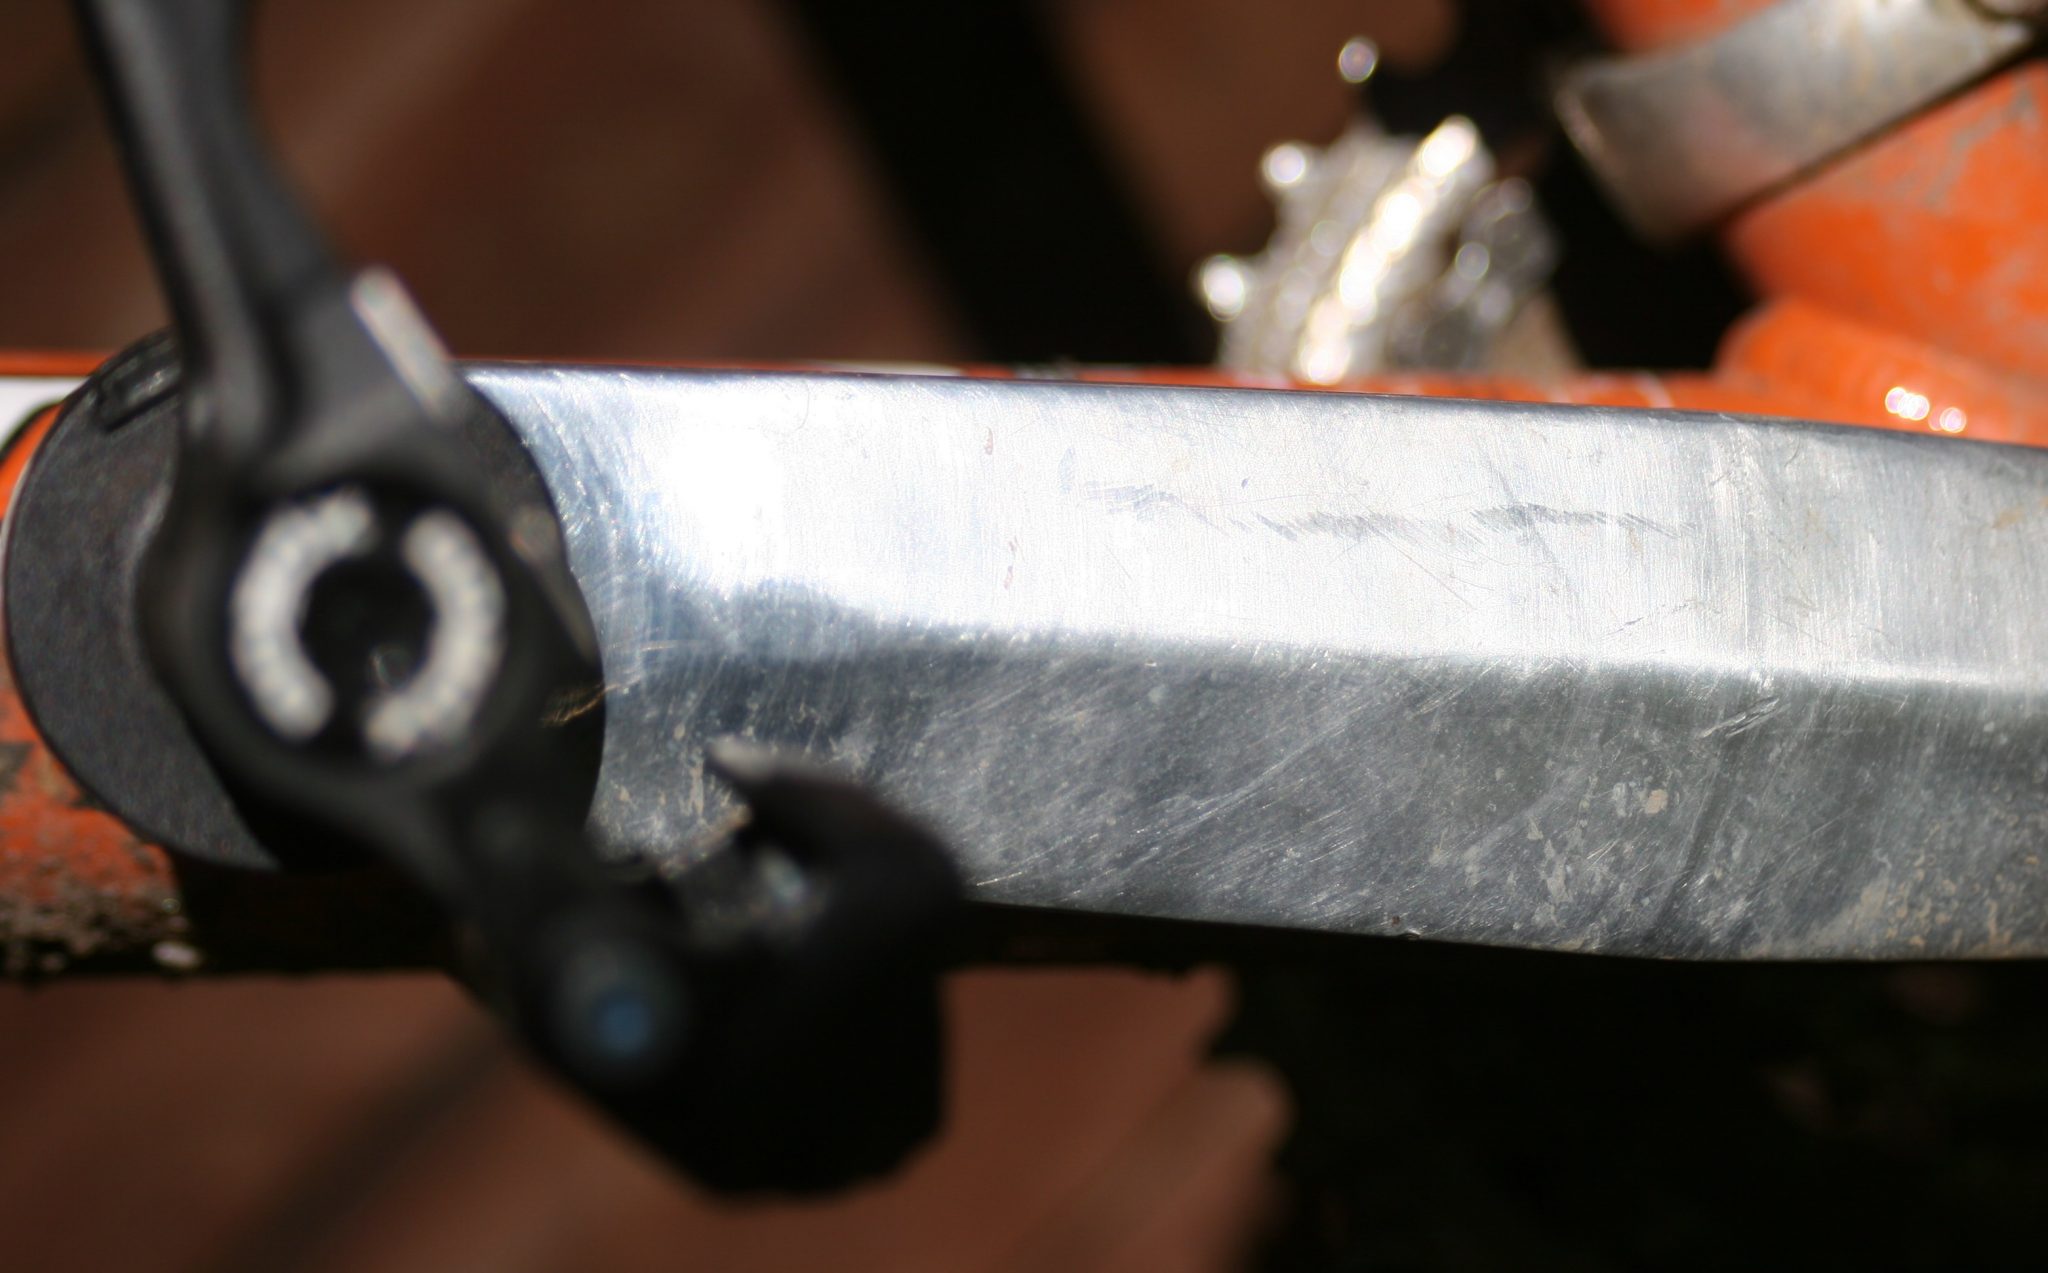
Some cranks might cause you problems: You’ll see below my MTB cranks. Not a flat surface! Once I got au fait with the process I used a marker pen to mark on my 4th bike the alignment position and still got results that were fine. (NOT recommended)


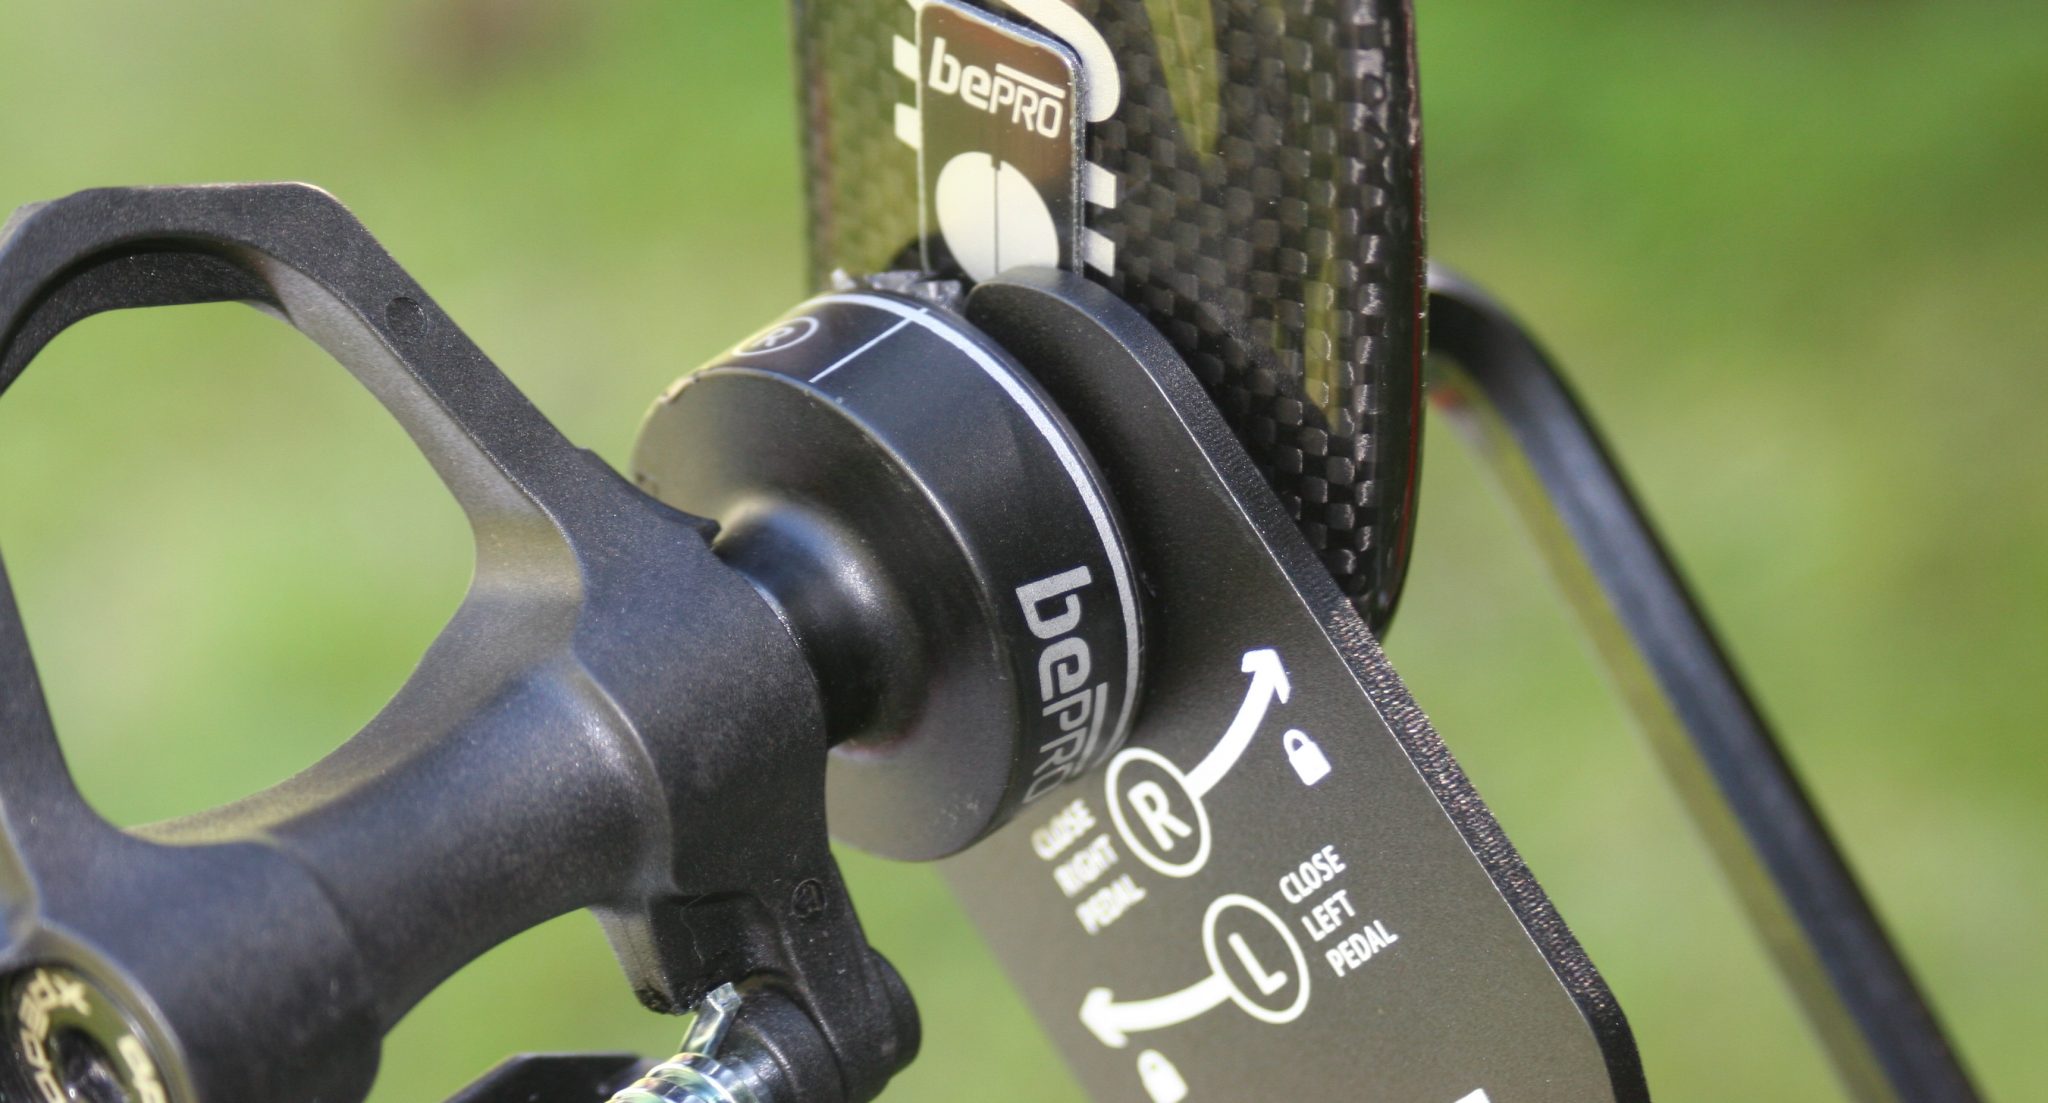
Installation: Step B ‘All’ you have to do is align the line on the pedal with the line on the sticker. This is the tricky bit and if you do it wrong you risk permanent damage to your pedals. DO NOT ASSUME THAT YOU KNOW WHICH WAY TO TURN THE THREADS…RTFM.
In brief though here is the basics of what you do:
- Determine if you have a recessed thread. Both my carbon crank sets had this. All 4 cranks each needed one washer/spacer (provided).
- You can see a bit of dirt where the washer will sit. My assumption is that this needs to be 100% clean otherwise the bedding-in process of the pedal might take longer.


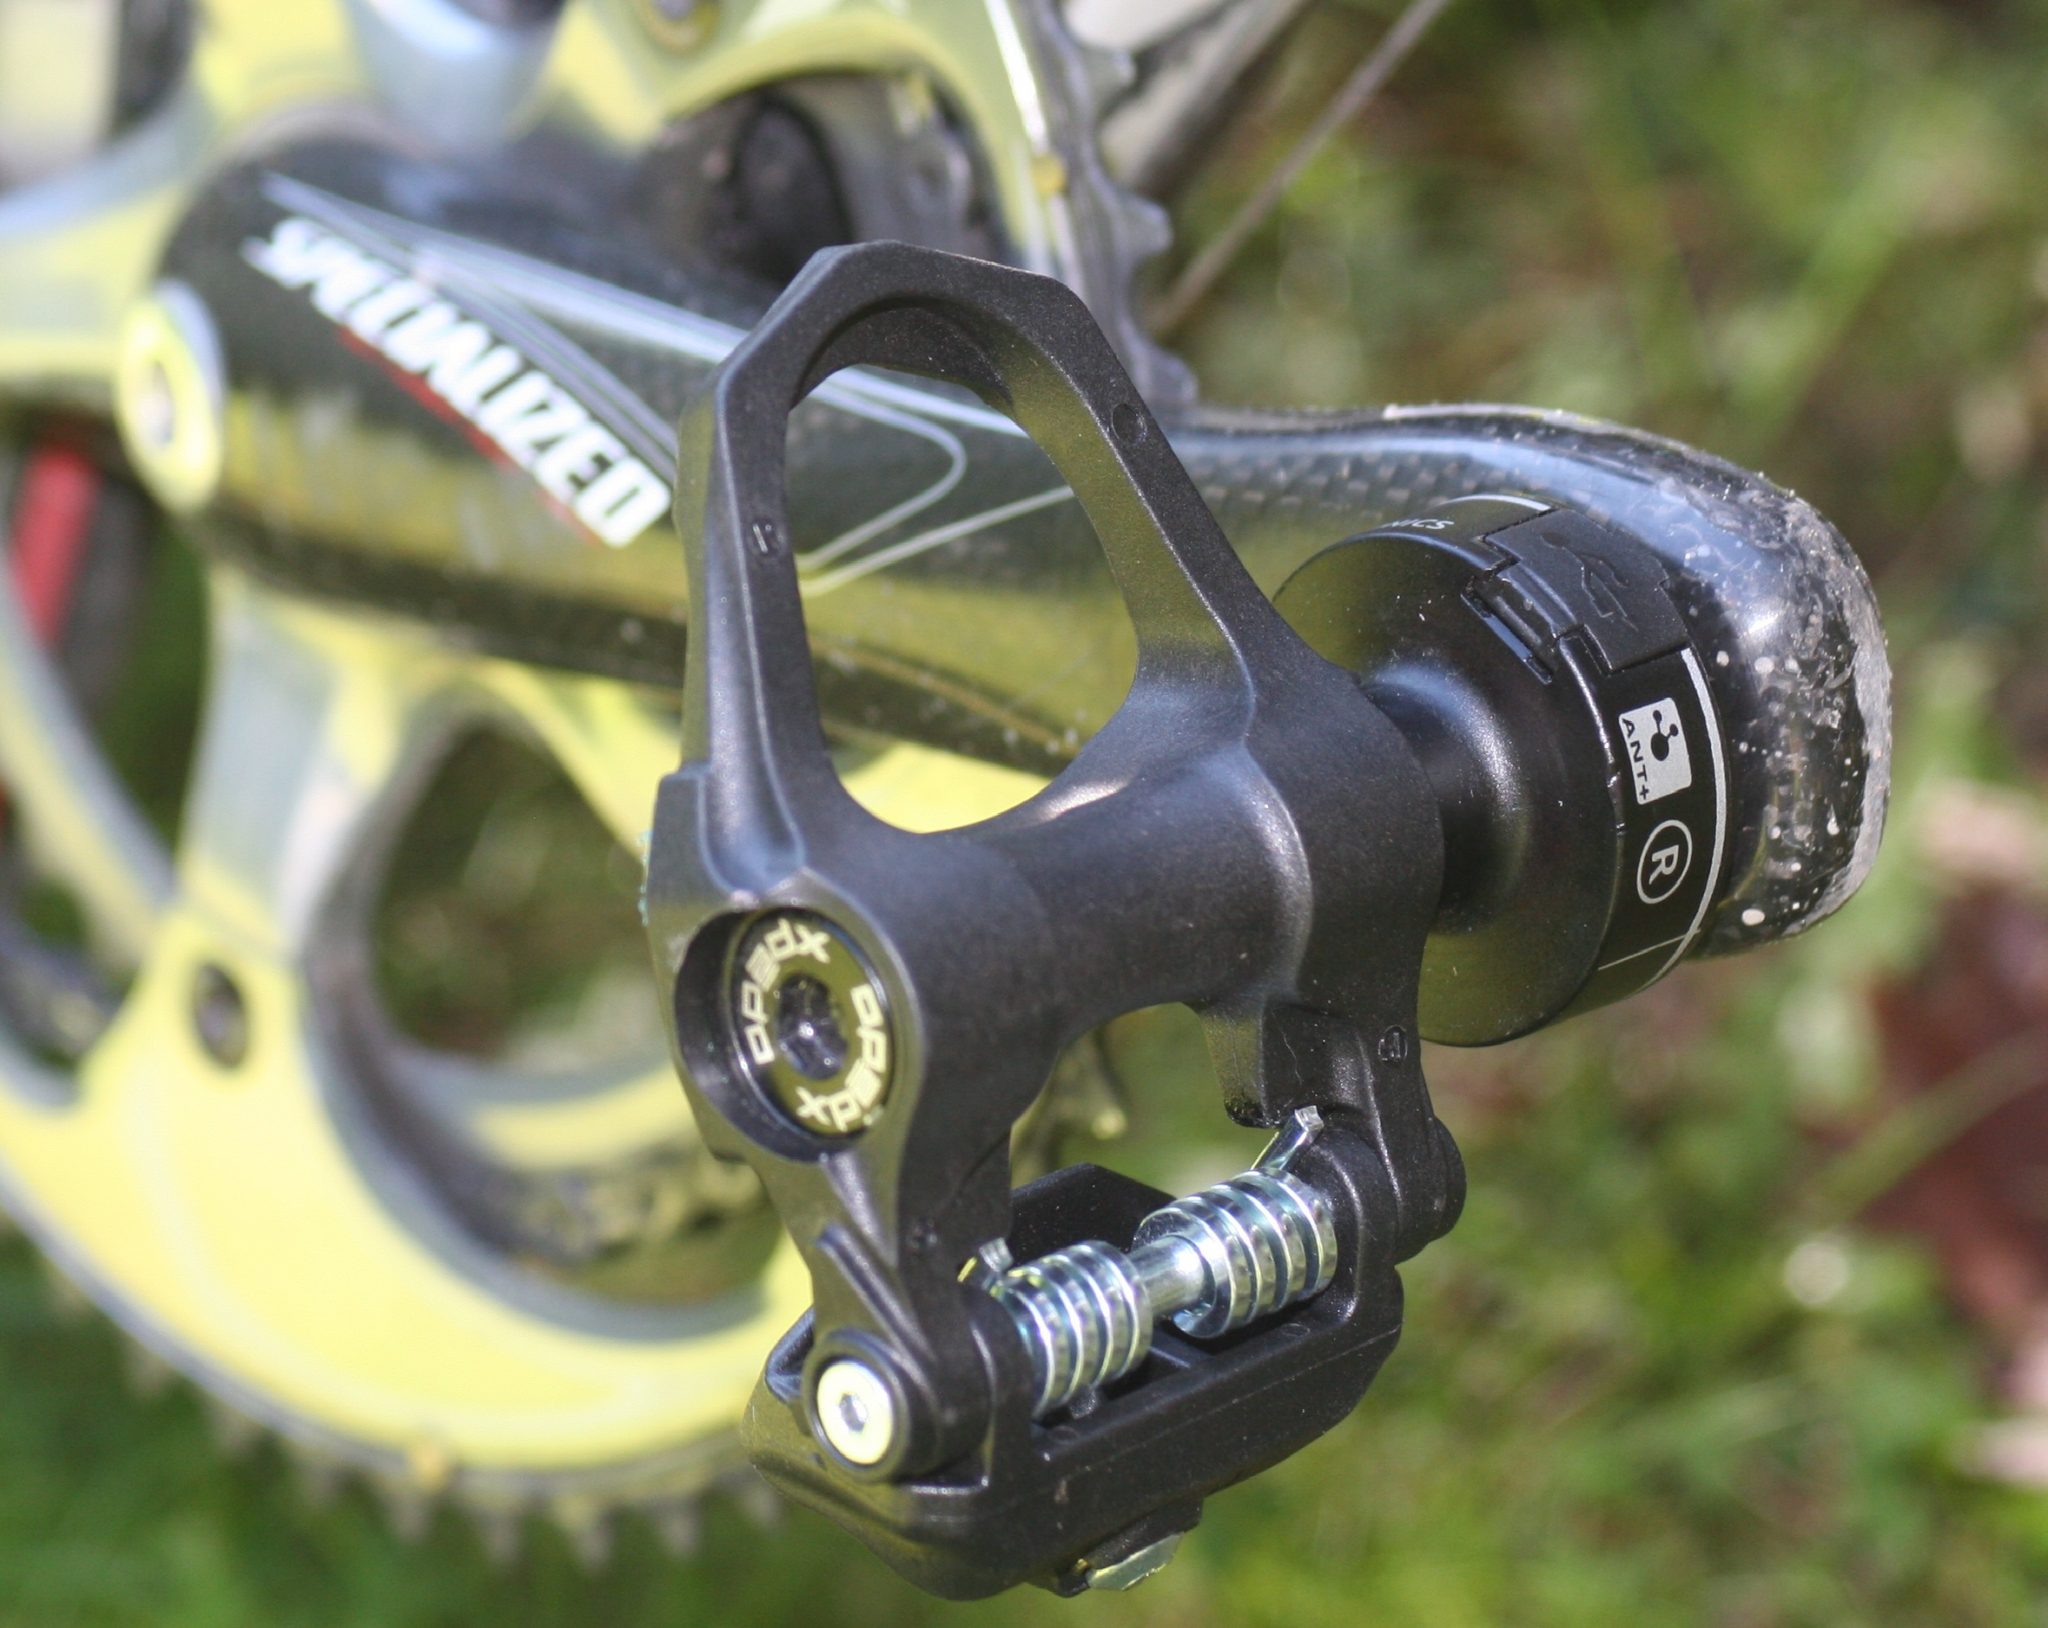
- Next you will see that on your pedal there is a nut – let’s refer to it as Nut X. Tighten this (each pedal will go the opposite way to the other). But just so it touches the main part of the pedal. There is no need to do this tightly, in fact it will make the coming bits harder.
- Screw in the whole pedal unit to the crank by hand. Again just do it to a light touch to the crank.
- Then untighten (not tighten) the large round end of the pedal until the lines match. This was almost a full turn for me on one bike.
- You then use the allen key and the special spanner (both provided) to tighten the nut (Nut X, from above) to the crank. Both of these tools are long so you get lots of leverage. The lines need to remain perfectly matched as you tighten.
- Sorted. You machinations will look something like this. The spanner even tells you which way to turn it.


Ta Da!
Sorted


Pairing + Configuration
ANT+ Pairing instructions will be device specific. This bit should be simple. Your ANT+ ID will be in the downloader software or on a sticky label on the box. Alternatively if you are 10m from any other bike it will be the only power meter within range!
Watches/Cycling computer products in the ANT+ Directory should generally be fine. But you’ve probably got a Garmin cycling watch or Garmin triathlon watch – which will work! (Garmin 920XT, Garmin Edge 5XX, Edge 8XX, Fenix3, Epix). I tried other devices including MIO 505HC and SportTracks LiveRecording plugin, all of which worked.
Bluetooth SMART products like Polar’s V800 and Suunto’s AMBIT3 are not directly compatible but may be compatible via a bridging device. Whilst such a device may well correctly convert ANT+ to Bluetooth the setup might not take a non-default crank length into account (even though you might be able to set it in the app like I seem to remember you can in WAHOO FITNESS).
If anyone asks I will check compatibility with WAHOO’s ELEMNT. And there’s a few more unusual bike ANT+ computers I have lined up. This all takes time of course.
Calibration
Calibration is an important subject and is covered in the main part of the review.


