
When Garmin released the Vector pedals a couple of years back I was lucky enough to get my hands on a pair fairly quickly. It just seemed, to me, the obvious place to put a power meter – we’re all different of course. Sure there’s some issues with that but for most people it makes a lot of sense. I just didn’t like the dangly-down pod things nor the price. Then I’ve been surprised that we’ve not really heard that much from companies offering something similar.

Which brings us on to the Favero bePRO dual-power ANT+ pedals. No dangly bits and half the price of the Garmins. Whatever the complex technical reasons behind novel power meter engineering at least NOW we are here with the Favero. You can buy a pair right now.
My angle for this review has been to steer towards trainers and to refer to road-based reviews of others. I’ve included usage with carbon cranks, oval chainrings and MTBs. I would like to do more but there is only so much time.
<Here> is a summary 1 minute review and <here> are some more detailed thoughts written after over a year of use.
If you want an up-to-date view on the Best Power Meter for your needs then try this
Best Power Meter 2024 Cycling Recommendation 🥇 Top 10 Review | Comparison
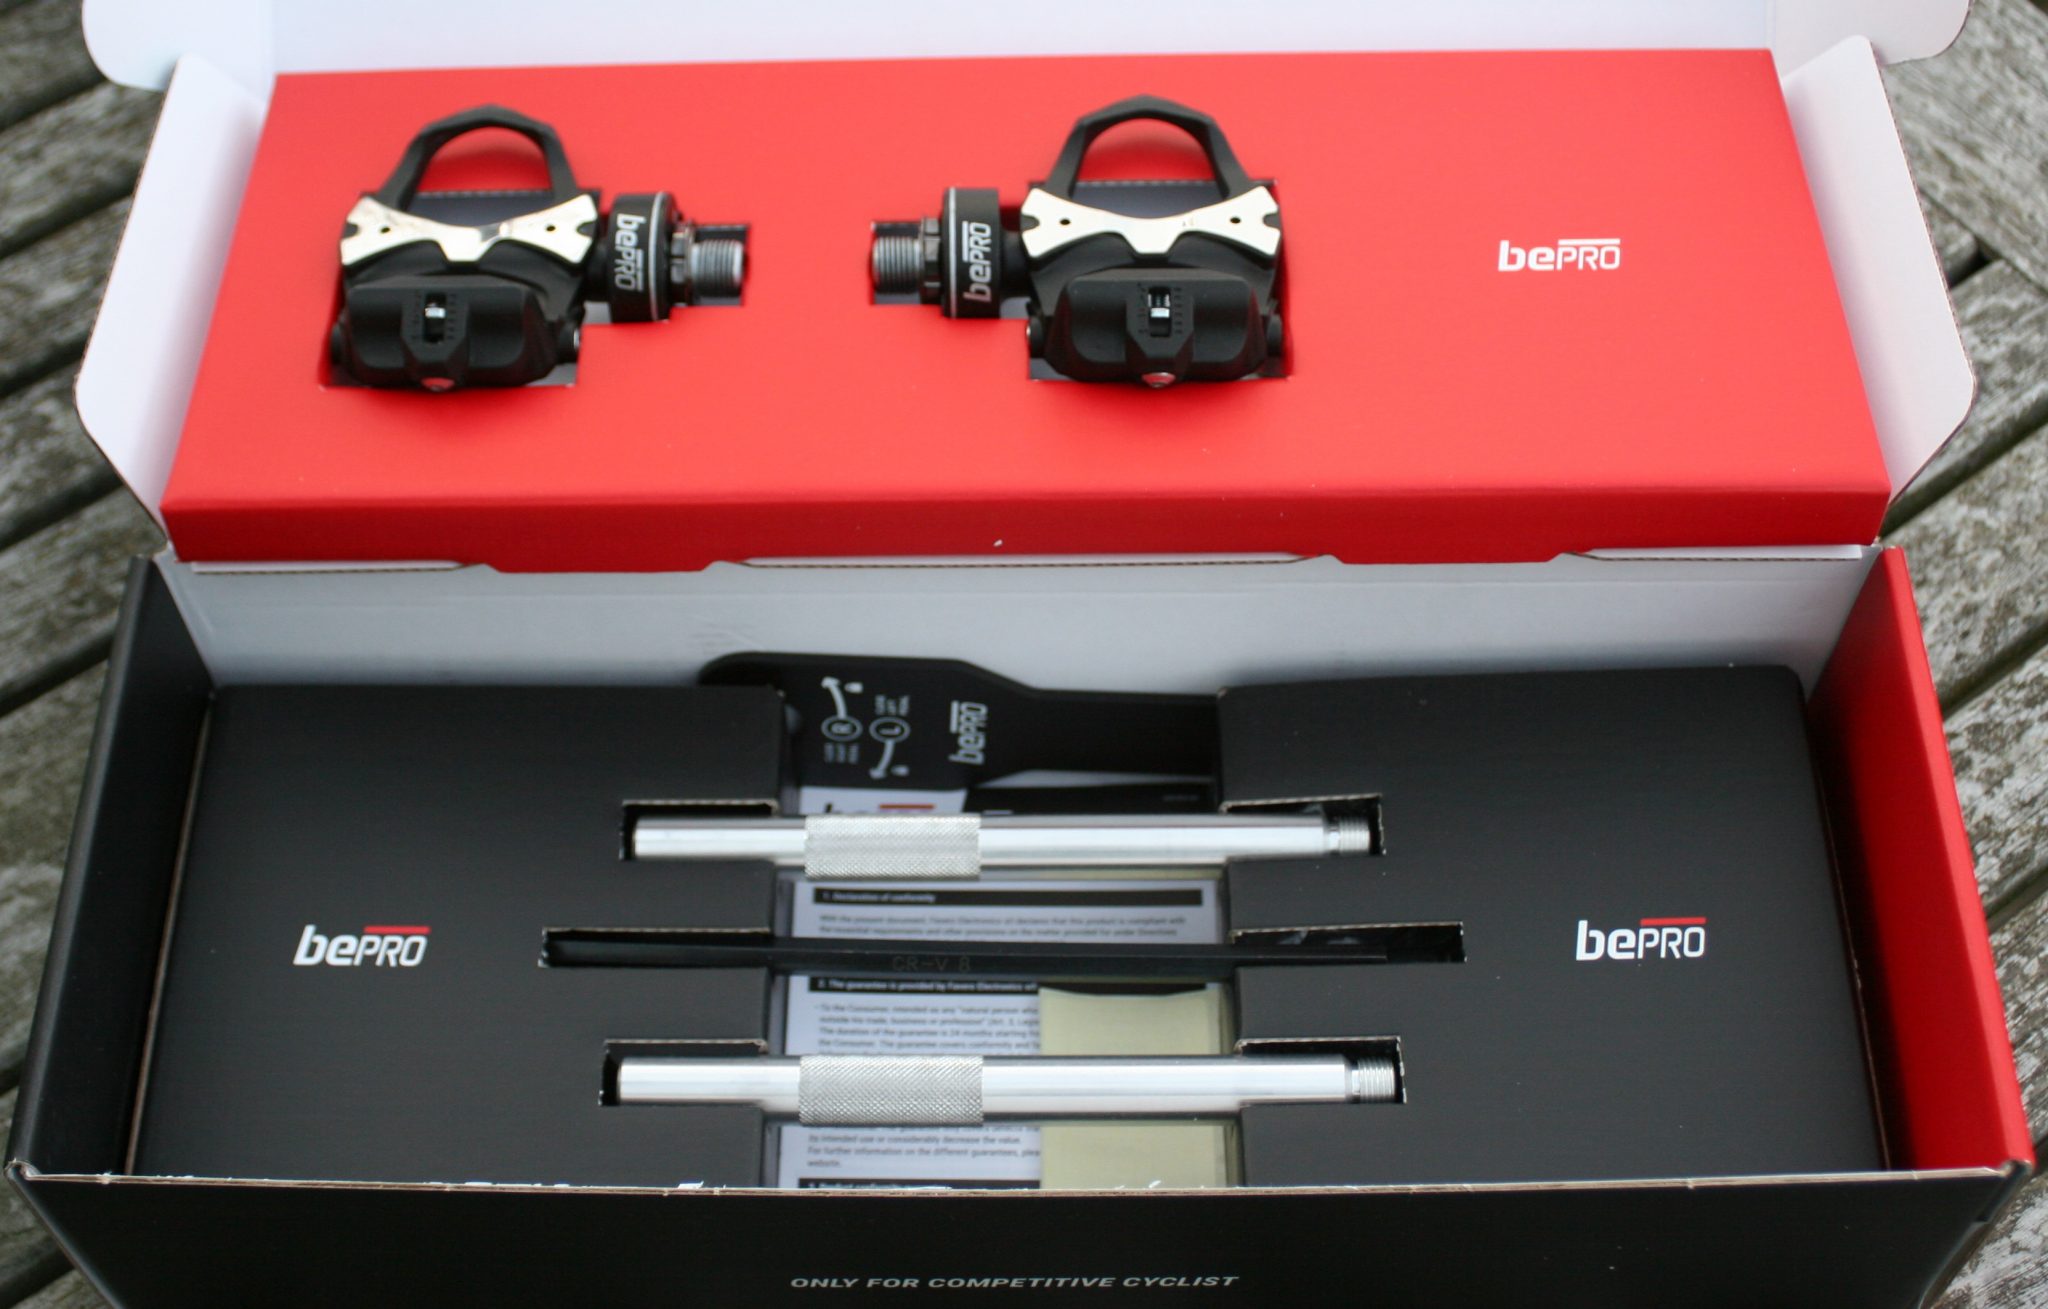
Unboxing, Box Contents, Weights & Dimensions
This entire section is covered as a detailed, separate post/page which you can find (here). It’s not that interesting.

Installation, Configuration & Pairing.
This entire section is covered as a detailed, separate post/page which you can find (here). It’s a bit more interesting than the unboxing section. Once you get used to the process you can easily change the pedals from bike to bike in 5 minutes.


Calibration
Anyway, once you have paired the device you should calibrate it. Indeed you should really calibrate it before each use. On race day you would calibrate it at some point before leaving transition setup.
On the Garmin head unit it took seconds to perform a static calibration – the simplest kind. Unclip your shoes and leave the bike and pedals vertical, press calibrate (under Settings: Sensors and Accessories – or similar for your device). Message: “0 Offset” or similar is what you expect. You will perform a static calibration before each use.
If the pedal moves or the pedal is leant against something, for example, calibration may well fail.
On an Edge this video shows the equivalent static calibration (you might have to go to youtube to watch it)
https://www.youtube.com/watch?v=lbO3hEfA3rw
And then we have dynamic calibration this measures and accounts for the inaccuracy of the angle of installation of the pedals. You need a watch/cycle computer to display CADENCE for this procedure. This is easy to get wrong but easy to get right when done properly.
If you are on a turbo trainer with your bike level (ie using an appropriate riser) you can look down at your pedals and watch the lights as you perform the following:
- You pedal backwards 10 revolutions each LED will then be on full/steady without blinking (the lights MUST be like this)
- Only then do you pedal at 80rpm +/- 5rpm (this is what you use the head unit for).
- When the power reading re-appears then you’re good to go. It will take between 30 and 60 seconds for the reading to appear – if longer or shorter, then it probably hasn’t worked.
Optionally, you can then re-attach to your computer and run the updater tool. There you can view if the dynamic calibration was successful and review the installation angles in the PARAMETERS section of the software. I got 3.70 and 1.76 degrees on my first attempt and that seemed fine.
The calibration parameters are stored in the pedals for when you next use them. So, for example, in a triathlon you will calibrate your bike before it is racked.
General First Uses
Check: Are your crank lengths and power offsets set? You can do it in the updater utility.
No big surprises were expected when using the bePRO. It is ‘just’ another power meter after all. After very straightforward pairing and calibration we move on to pedalling and my Garmin nicely started off by asking me which power meter I would like to use. As expected.
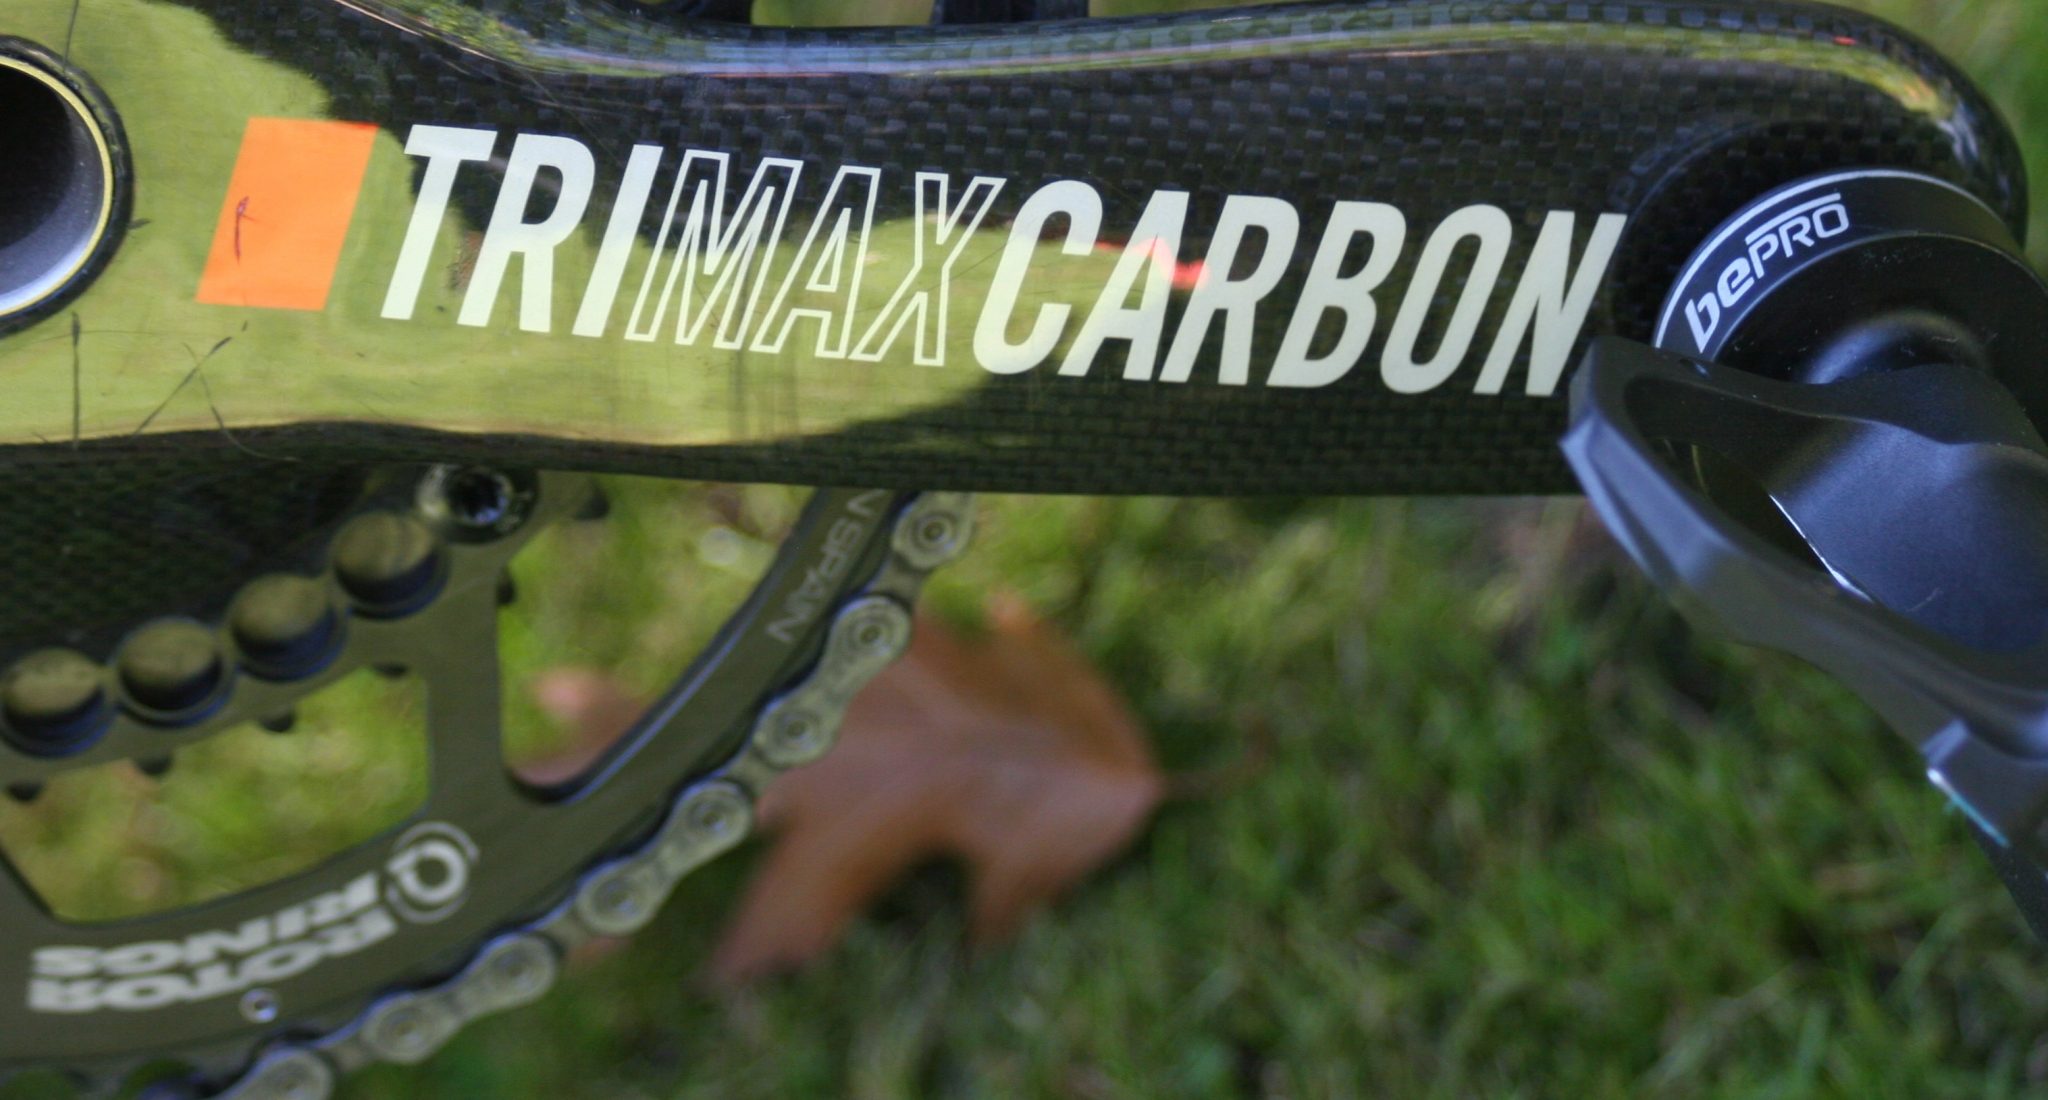
Of course I am lulling Sr Favero into a false sense of security as I’ve just sneaked in an ‘oval chain ring’ AND a ‘carbon crank’ for good measure. Two phrases that some power meters baulk at.
The curve ball I then threw was unfortunately hit directly back at me…at speed. I had been faffing around with data screens and, yes, sure enough the left|right power balance was working but I incorrectly selected PEDAL SMOOTHNESS and TORQUE EFFICIENCY. You know, the Garmin Cycling Dynamics metrics. The ones I wasn’t expecting to be supported. Oh well they seem to work! Nice.
Indeed the technical specification sheet states the following are transmitted: instant power (watt), instant frequency (rpm), balancing L/R (%), pair efficiency (TE) 1, pedalling uniformity (PS) 1
Back in August Favero told me that the carbon cranks would be no problem in use just to use a washer when installing. But they also said that oval chain rings were currently being worked on.
That may well explain some of the initial vagaries of the TE where I was often getting in the high 90%s. Flattering but probably not true! A dynamic calibration improved the results.
In any case, I’d tend to agree with Favero’s view that the other cycling dynamics are perhaps not so useful eg standing time. PS/TE have their place but probably as occasional references and track points. We can live without them.
I was initially quite shocked at my left|right balance which was often going to 45|55 when in previous months, in Spring 2015, I was able to manage a much tighter range. I can’t exclude a hip injury being the cause though and similarly time will tell if I’ve actually tightened up each pedal properly. Indeed one of the pedal’s alignment marks was very slightly off-centre; had this pedal tightened slightly with use or had I done it slightly wrong initially? Yes! Again a dynamic calibration improved the results.
My view on the carbon cranks and oval chain ring after quite a bit of testing is that the basic power figure is probably good/accurate and certainly consistent. I’m not sure about the TE/PS metrics and haven’t delved much deeper into it. The oval chain rings may overstate power slightly.
Moving on to aluminium cranks. Standard 105 stuff. All good.
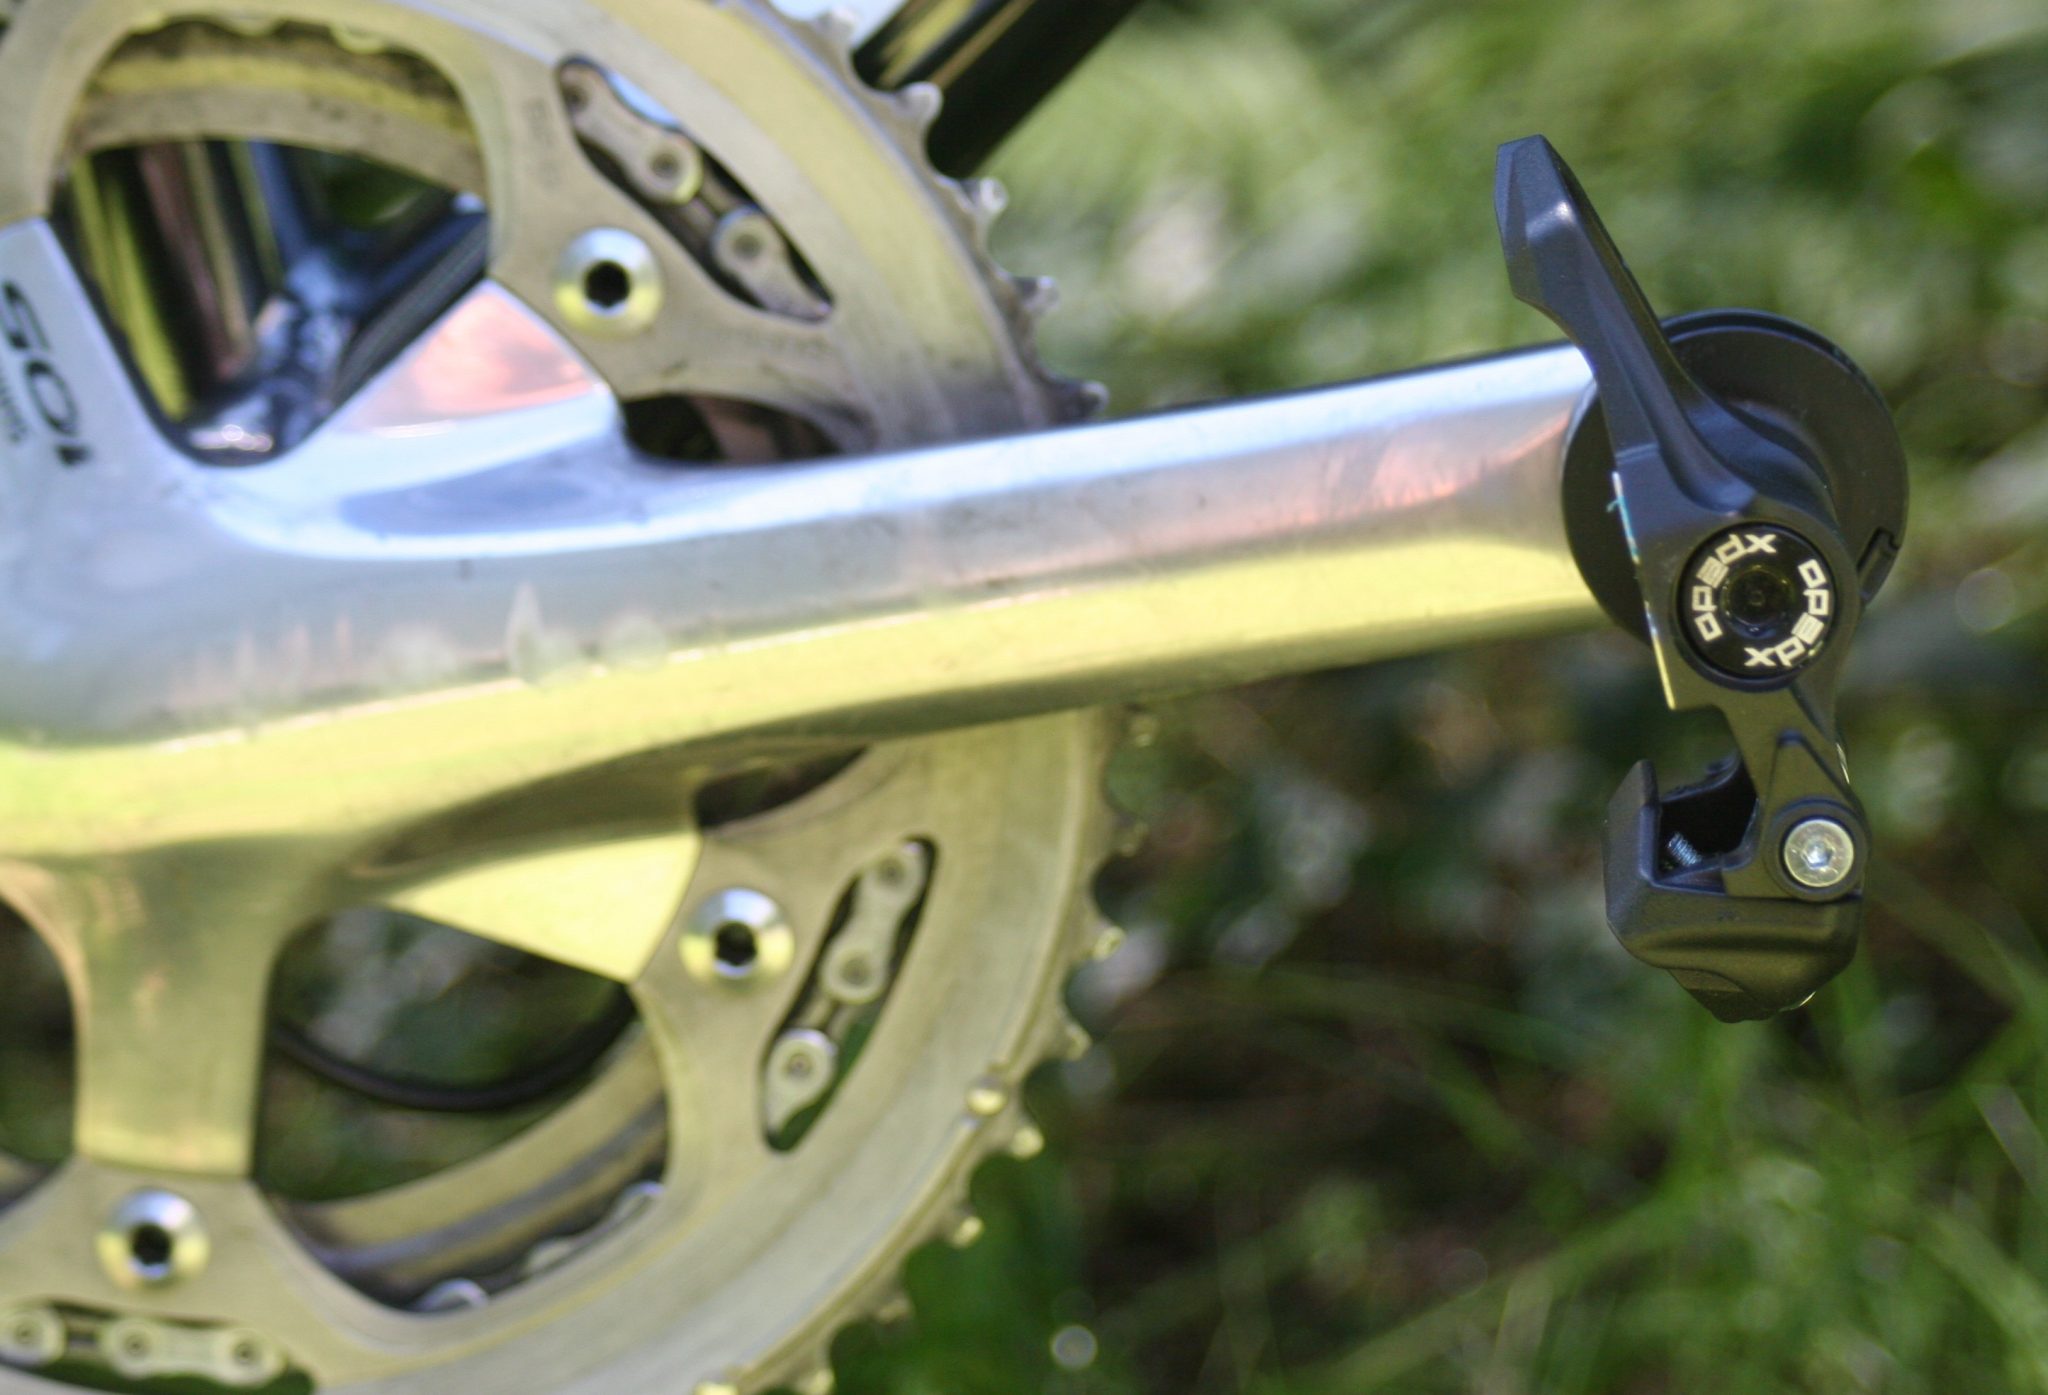

Moving then to an old MTB I put some power meter pedals on for the first time. So from a review point of view that all worked fine. I was only doing glorified trails as I didn’t want to risk damaging the pedals sliding on my backside over some rocks or tree roots. From a personal point of view it was quite interesting on a totally different type of bike and, to be honest, one that I’ve always been supremely comfortable on. This was reflected in the same or better power levels, just goes to show what a bit of comfort and less aero position can do for your power output. Still, who said you were meant to enjoy cycling and be comfortable? Whimps!


Compatibility
I tested with a Garmin 920XT, 2x Garmin Edge’s (810, 510), Wahoo’s RFLKT+, MIO’s 505HC and SportTracks’ (PC) inbuilt ANT+ monitoring interface. They all picked up the data fine. Why shouldn’t they? That’s the whole point of the ANT+ standard if everyone sticks exactly to it then everything works.
Compatibility with Bluetooth Low Energy (BTLE) aka Bluetooth SMART v4.X
The bePRO is currently not Bluetooth compatible.
Or is it?
Using Wahoo RFLKT+ Firmware v 1.2.18 I was able to use the RFLKT+’s ability to bridge the bePRO’s ANT+ signal to an iPAD app using Bluetooth to the RFLKT+. Specifically this was to Wahoo Fitness v5.7.0. I only performed a cursory test. Here is what I found:
- Power data was displayed on the iPAD
- 5s power seemed generally reliable but for some reason instant power was often not displayed.
- It could take up to 30s for data to be first displayed. After that there may have been a slight delay of less than a second. I found that with other devices not just the bePRO.
- When there was a cadence sensor present, in addition to the cadence transmitted from the bePRO, then NO CADENCE was DISPLAYED AT ALL.
- Once other cadence sensors were removed, cadence from the bePRO WAS displayed.
You might draw the conclusion that there is a reasonable chance that the Polar V800, other Polars, the Suunto Ambit3 and Strava on a iPHONE might all work with the bePRO using this method with a WAHOO RFLKT+.
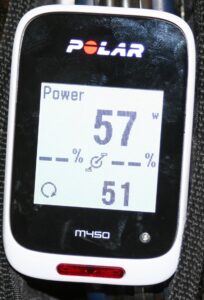
Edit: The be Pro works with a Polar M450 (Bluetooth SMART- ONLY cycling computer NOT ANT+ !!) using a 4iiii Viiiiva V100 bridging device – cadence and power are both displayed (not L|R balance).
Battery
As we’ve seen the 2x long USB cables can be used to charge both pedals simultaneously either on the bike or off. The plug even has a pretty light on it when plugged in so you know a fuse hasn’t blown.
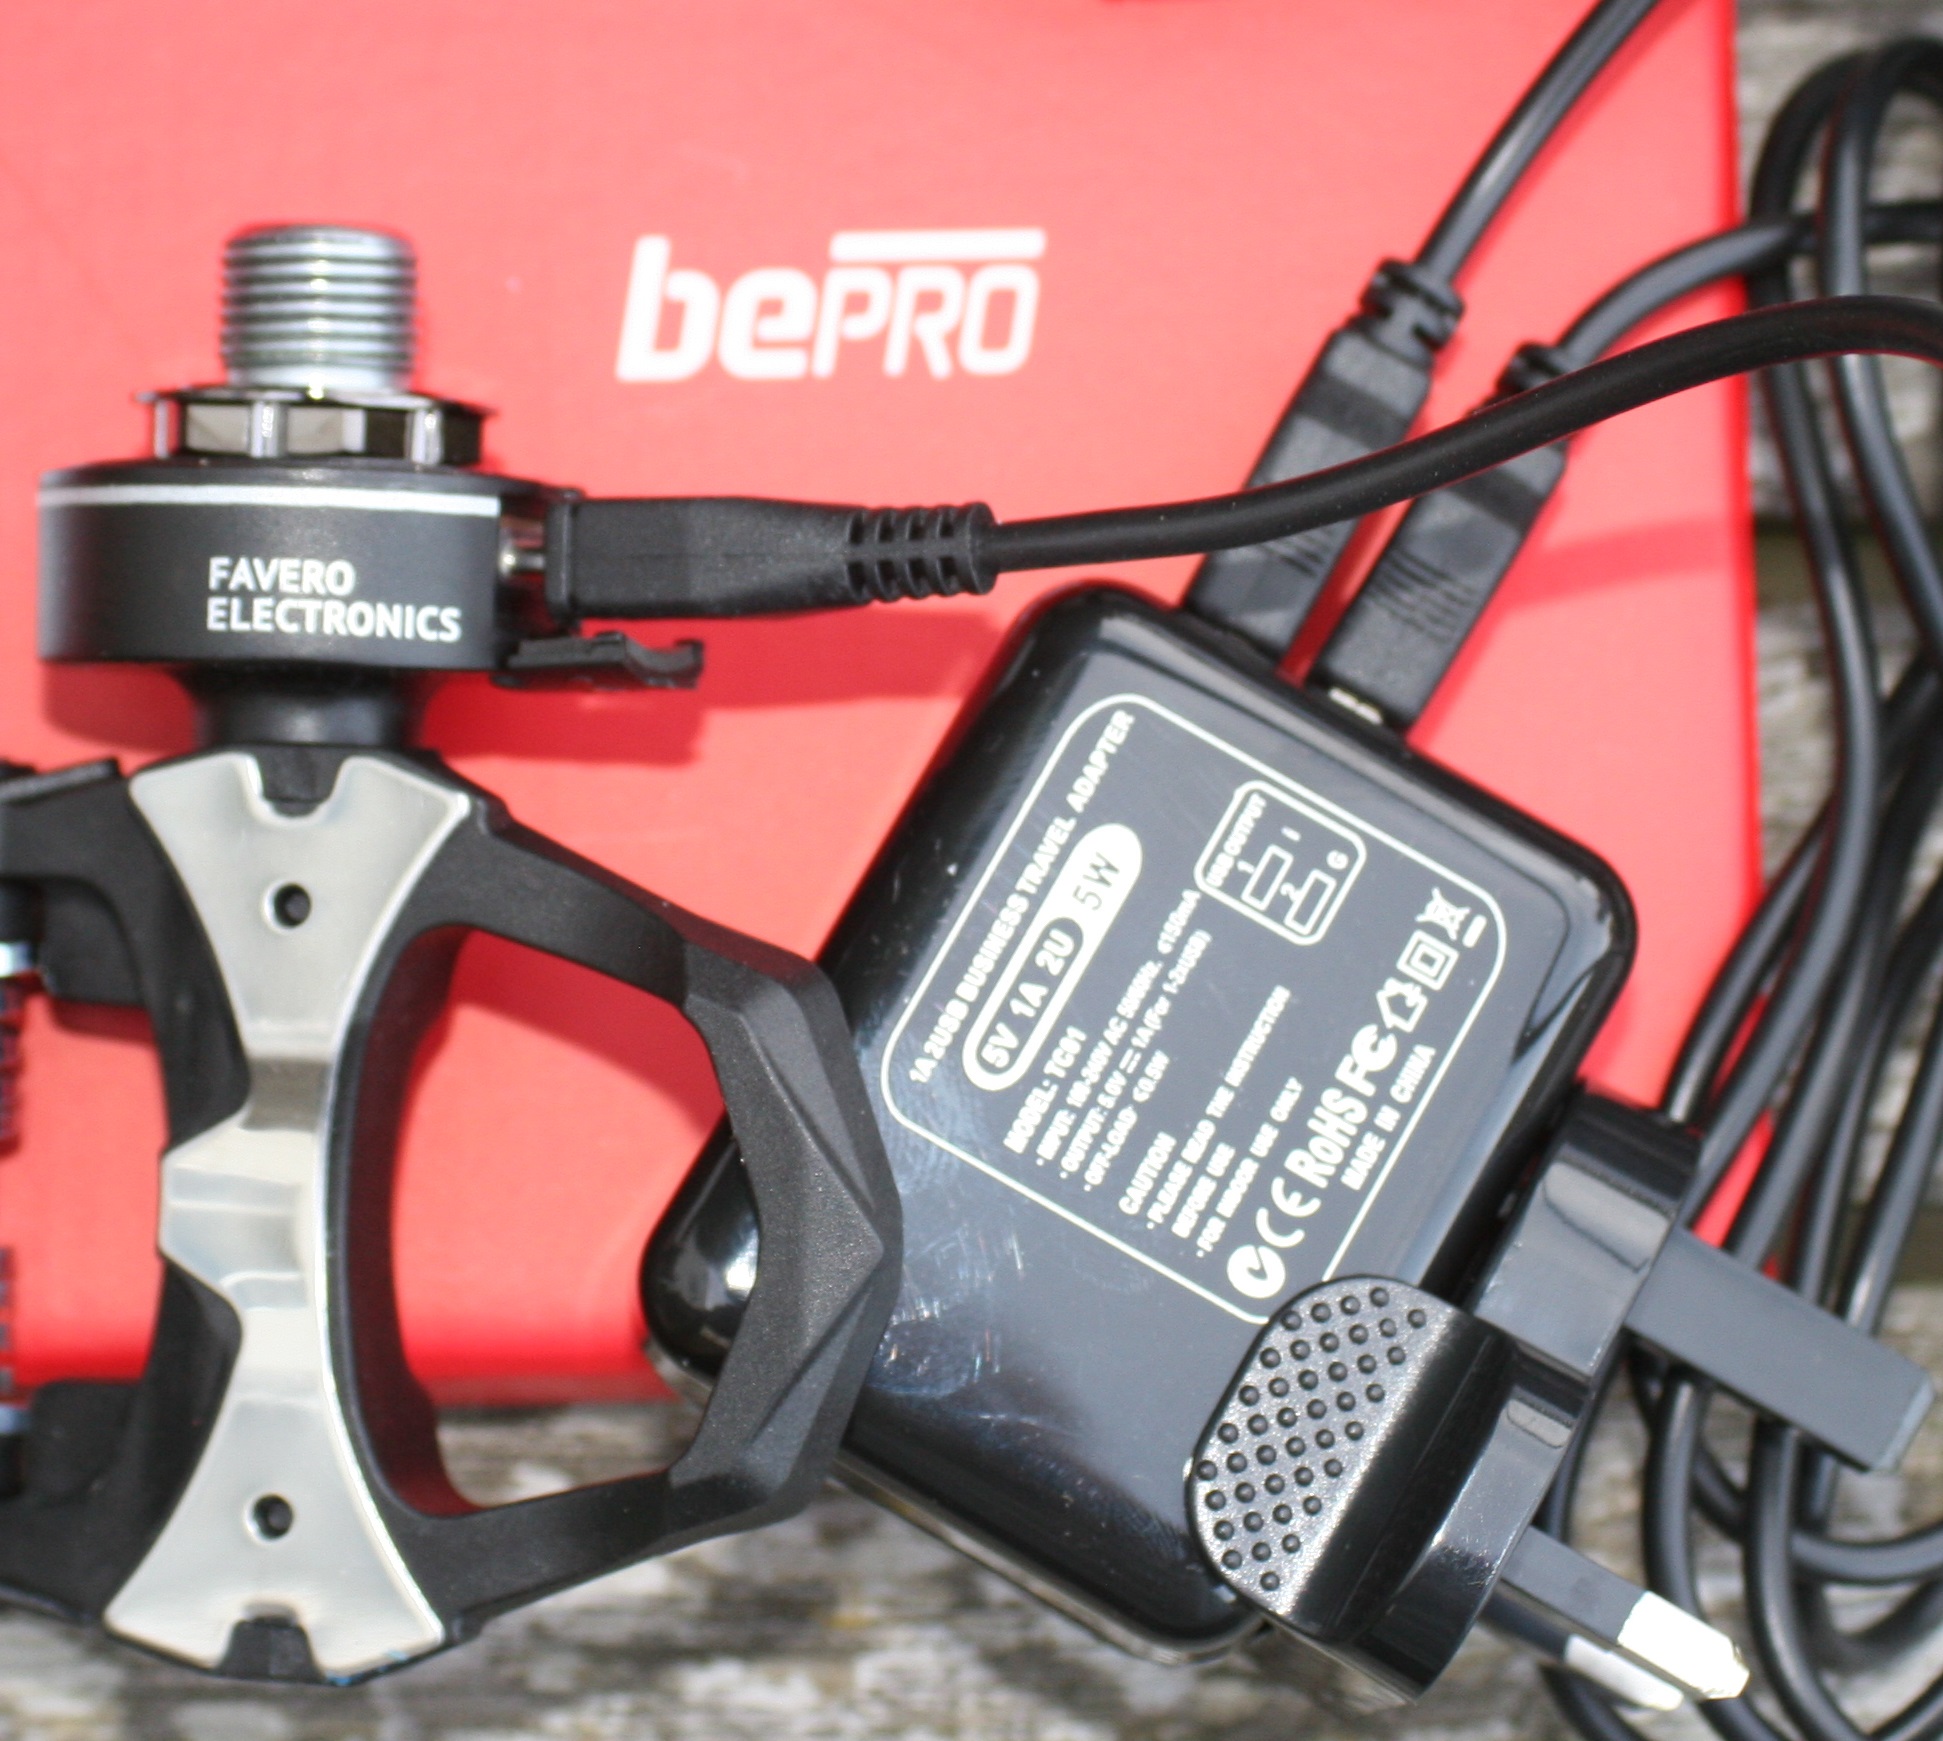

The battery in each pedal is rated for up to 30 hours of use. That’s enough for me. I’ve had lots of smaller rides and turbo sessions. For my one big ride I charged up the batteries and then used the PC updater tool to put the pedals into ‘transport’ mode before driving to the start.
150 miles later and the watts were still streaming out. Although much less than when I started but that’s my fault for rarely doing >90 minute training rides!
My concern here is the battery life in 25 months time. Just after the guarantee has expired. How long will the battery life be then? I would imagine that a battery failure during the warranty period will be no problem for Favero. If you look at the detailed technical drawing in the technical specification on page 2, you will see that there is no separate battery. To me that means that the battery is integral within the bePRO sensor unit. So this means that a new battery will currently cost Eu278 – ie the price of a replacement sensor.
Favero state that they have worked on 15-20 years of usage. They estimate that over that time frame the batteries full charge level will be 80% of what it was originally. Which sounds re-assuring.
From a practical point of view and from a habit point of view I would personally suggest charging after every use. I’ve no idea what this will do to battery life.
Spare Parts.
Some people wear out the spindle/pedal bearing on one side more quickly than the other. Some people may damage the pedal with a serious ‘knock’. Smaller components, such as bearings, are replaceable at a sensible cost (here) in Favero’s online shop.
Problems
I had a few problems. Maybe some were my fault.
My first ride had the power dropping out for about 10 seconds towards the end of a fast 20 minute road effort. It’s possible I had not properly performed a dynamic calibration (as reported by the updater software).
I upgraded the right pedal from firmware v1.008 to v1.009. That was fine but the left pedal’s upgrade ‘hung’ half way through. Neither the updater software nor windows 8 could properly detect the pedal as a USB device. There was no power data whatsoever. I couldn’t do anything. The left pedal LED light was permanently on and I hoped that leaving it in that state overnight would somehow reset something. It did! I came back 18 hours or so later and the firmware had automatically reverted to v1.000. I performed the v1.009 update fine this time.
Durability
Ultimately someone needs to use a pair until they break and then tell us how long it took, doing what kind of cycling. That will take a LONG time.
The pedals certainly DO NOT seem flimsy.
They are well made, on the whole.
The USB charging port on each pedal is covered by a plastic cover which is probably splash and dirt proof (the manual states that the internal charging areas were waterproofed to IPX7 – which is to a good standard). There are spare port covers in the event of loss or damage and that’s not surprising as they are a bit flimsy.
A replacement pedal is just over Eu80 WITHOUT SENSOR. Presumably if anything breaks, that is your fault, it makes sense to buy a pedal and fit in your old sensor.
I used the bePRO for over a month. A typical week would be 4 hours with, as I say, a monster 100 mile trail ride. So that’s probably >30 hours or so.


After 200 or 300 or 400 hours of use and loading into cars and vans and dropping against wall and hanging on bike/transition racks then I can only speculate what their condition would be – I don’t know. Look at the condition of your regular pedals – probably not a pretty sight. The bePRO’s will have to handle that same level of inevitable long term wear from even the most careful of us.
I changed the pedals between 4 bikes. I didn’t particularly notice any discrepancies and bedding in time for each new installation. As mentioned earlier I attached the pedals to spotless cranks and had a quick sprint before using them in anger and calibrating. These regular changes did not cause any noticeable damage to the pedals at all.
I did a long 100 mile trail ride where the pedals would have been periodically hit by gravel. They could, and did, survive that easily but they DID show noticeable signs of superficial damage but most of the damage visible in the photo must have been from shoes and/or cleats banding onto the bePro when clipping in/out.
EDIT: this is because of a weird pedal stroke error on my right leg. Because of an injury my right foot toes out slightly on the downstroke. THAT caused the cleat to make contact and cause the damage. I have since invested in GREY (not red), less-floaty cleat as well as some pedalling exercises…all seems better. AVOID RED CLEATS IF YOU CAN (grey are less floaty, black have zero float).
Accuracy
Favero state 2-3% accuracy.
Its hard to get a consensus view on the accuracy of the bePRO without looking at what the consensus is. Here are some attributed images/links to various tests.
Accuracy Results 1: WattBike
WattBike claim 2% accuracy


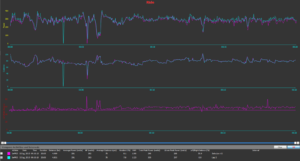
This is from a 7 month old Wattbike. It was tricky getting the pedals on as the bePRO alignment rods will only work by going underneath the stationary trainer. You can see the homemade placement sticker too as I ran out :-). Doesn’t really matter as calibration takes care of that.


After an adjustment for the crank length (172.5-170) of the watt bike and both a static and dynamic calibration the tracks are consistent. The bePRO has an unusual small power loss at about 03:00. This is NOT the calibration power loss (that would go to zero).
Accuracy Results 2: massarob.info – Stages vs. bePRO
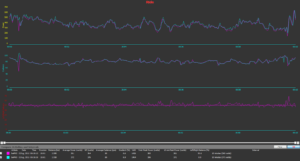
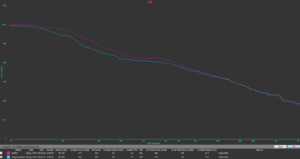
bePRO data is in PINK, the top track is the power data.
The full test and commentary are at the above link and please note that some calibrations were taken during the test resulting in zero data at those times. My take on these results would be that Stages reports generally slightly higher figures than bePRO although tis may be reversed at higher power outputs.
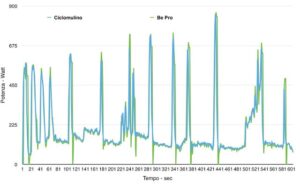
Accuracy Results 3: Mattia Michelusi Ciclomulino vs. bePRO
The full test and commentary are at the above link. My take on these results would be that the Ciclomulino trainer reports generally slightly lower figures than bePRO.
Accuracy Results 4: dcrainmaker Verve vs Powertap vs bePRO
The full test and commentary are at the above link. My take on these results would be that the tester found nothing unusual and was happy with the consistency. Some consistent variation seemed to be found but the tester noted that this could be adjusted for on the offsets for the bePRO setup.
Inaccuracy Results 5: proxy power.
I thought I’d also come at this from another viewpoint. What’s the most sensibly inaccurate power meter? Let’s see how bePRO’s accuracy compares to that. If they are similar then we might put our search of absolute accuracy into perspective, accepting that perhaps it’s the consistency that’s important.
To be clear: I assume here that the bePRO is accurate and that the alternative is not.
My alternative here is a TACX Flow (Electromagnetic) trainer which you could probably get for GBP/USD100 on ebay second-hand. I’ve used the correct ETRO tyre circumference to let a Garmin GSC-10 transmit speed to a device which converts speed to power using someone else’s estimated relationship between power and speed for this TACX model. Surely that’s super inaccurate?
Maybe not.


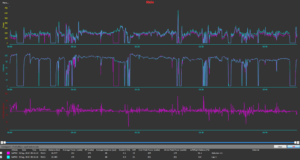
I was surprised by that level of accuracy. Trainer-based power (red) comes from speed and so is smoothed to a degree because it does not respond instantly to an increase in power and also keeps producing speed when the pedalling stops.
Summary data was:
- bePRO average power – 163.3w (includes calibration), TACX – 168.1w (includes over-run when pedalling stops so this is to be expected)
- bePRO norm. power – 201w, TACX – 204w
Unless my maths is incorrect that’s 2% accuracy.
Favero claim 2-3% accuracy so the real Norm. power could be 3% less than the bePRO making the TACX 5% inaccurate but I suspect not.
As stated elsewhere, elliptical cranks (that were used against the TACX) may overstate by 1-4%. The overstatement will probably increase with cadence.
I appreciate this test is probably not scientifically valid but it made me think that maybe we obsess a little too much about precision/accuracy. Your thoughts welcomed.
Accuracy 6: Rotor Oval Chainring vs ‘Normal’ circular chainring.

Inconclusive.
I used a circular inner front chain ring and an oval outer (large) front chain ring. I maintained 150w, 200w, 250w, 300w and 350w for 30seconds in each front chain ring. 350w in the small front chainring results in a cadence of almost 130 and it was impossible for me to do 400w at a higher cadence. This range of power covers the range that most of us will train in I would imagine.
So, for example, what I looked for here at 250w was the variation of the two power meters in one chain ring vs the other chain ring at the same power. Now obviously the power would be different from one ring to the next as I was unable to mimic my previous effort. However let’s see if the %age variation of the average power from one to the next was the same and/or if there was any pattern. If the variation is the same and there is no pattern then a tentative conclusion would be that the bePRO worked fine with oval chain rings. [Favero are validating elliptical chain rings in a much more scientific way in-house]


I had to manipulate one of the data files quite a lot and may have introduced more errors. However I think it is a moot point as I don’t think I can draw any conclusions about elliptical vs round chainrings.
Favero state that their research so far has found that oval chain rings overstate power by 1-4%. The v1.0.0.9 updater software can be used to correct this discrepancy, if known.
I often use this setup with a circular inner chain ring and oval outer. I know others do too. I would imagine it is practically impossible for a pedal based power solution to cope with that.
Support
I have been given excellent and detailed support as and when requested. Then again Favero obviously knew I was doing a review so it is not possible to extrapolate that to the full upcoming customer base.


Problems
EDIT – September 2016: I’ve used the BePros a lot. I would recommend them. They are not perfect. The problems I had are as follows
- Damage to the sensors unit casing because of how I pedal. I twist on the downstroke on the RHS. This caused the cleat to touch the casing. This affects the reading and the casing. Cure was to simply use less floaty, grey cleats for me. 100% solved
- The left side saw a drop in power. You can follow a readjustment process in the firmware to up/downweight either side’s power. This requires a 10kg weight to be dangled off the pedal when horizontal and when calibrating. My LHS read as 1002. So this required -2% to be applied to the left pedal. Fairly straightforward and documented.
- On one of my bike the crank-pedal did not touch properly. An additional washer is required (as per manual)
- Ran out of the alignment stickers. But you can get it to within 2 or 3 degrees by eye. Well I can. Normal auto-calibration can adjust for that.
- More than 1 bike…honestly guys/girls changing between bikes takes LESS THAN 5 MINUTES once you’ve done it a few times.
- Battery – lasts a long time, easily 20++ hours. I’ve only ever gone flat once and that was when I first had it. It would be good to know battery status on the head unit Mr Favero (CIQ app?).
- Cleats – I prefer the Shimano cleats that the BePro can’t use. Grrrr.
- USB plastic covers – never had ANY problems. I still have the spare pair totally unused. And I’ve used the pedals on my MTB (trails) for hundreds of kms.
Price, Availability and Warranty
There is a 2-year warranty and in all my dealings with Favero and in all the dealings with Favero that I hear other people have had, they are out to make friends. So they are going to honour the warranty with no quibbles I would imagine. There’s too much riding on a high cost product for them to quibble and make enemies.
At US$519 (single) and US$814 (dual) it’s a buy especially with the 10% discounts below
    | bePRO code for 10% discount – “the5krunner10” |
Recommendations and Summary.


Whichever way you look at it, the price of a consistent/accurate powermeter is going to cost you the same as the price of a low-end bike (October 2015). If you are going to buy a power meter you are already happy with that fact.
The cost question then comes down to what you can afford, what you are willing to spend and if you have a specific need to require the powermeter to be situated in a specific place on the bike.
Next comes the accuracy criteria. Even if you can afford multiple, excellent power meters then ask yourself if they will all report the same consistent power. I doubt it.
Most power meters, including the bePROs, have stated accuracies of 2-3% or thereabouts and I seemed to be able to reproduce a similar level of accuracy easily with a poor quality setup.
So is accuracy really that important? Consistency is key in my opinion and the opinion of many others. I’m not sure how we can measure that. Although clearly different temperatures and road surfaces will also come into play (I’ve not looked at that in this review).
If you are looking for advanced cycling dynamics metrics then the Garmin Vector 2s are your choice. Personally, I don’t buy into the usefulness of the advanced cycling dynamics and, as I have pointed out, the bePRO produces some of them anyway L|R/TE/PS. It’s possible this may be turned off by either Garmin or Favero.
My main area of concern with the bePRO is attaching the pedals. It is EASY for ‘someone who knows best’ to tighten it the wrong way and then, apparently, permanently damage the unit. It just seems inevitable that someone in a bike shop will do that at some point to your bike (you and I obviously wouldn’t do that).
The second, much lesser, area of concern is oval/elliptical chainrings. This probably reduces accuracy but does not affect consistency. For me that would be fine but not for some others.
It seems sensible to me that most of us to should rely on one technology that is readily transferable between your bikes. If you have the money you might go for the Powertap alternatives and if you are in need of super-accuracy and super-consistency then there might be a better choice (I don’t know).
For very many of us the bePROs are a convincing ‘buy’ in my opinion.
    | b |
Disclaimers.
Many of the images were taken before the pedals were properly installed and the alignment stickers are missing in some photos because of that (although after a while you can align it vertically enough by eye and then calibrate for that).
    |



Great review. Thanks.
Hi, firstly great review.
Do you still have the bePro pedals? I was wondering what sort of condition they are in after increased use? Do you think you could protect the circular sensor body by putting some help-tape on there?
Also what’s the communication and after sales service like with Favero?
I’m swaying towards these and this is crucial for me as I have encountered Garmin after sales service recently and was pretty impressed.
Thanks
thank N4
yes I have them
once I stopped pedalling incorrectly (used grey cleats) then I got no more damage. so the condition NOW is as per the photos from whenever it was I did the review. maybe some very light additional wear…nothing noticeably different. still using the original caps…i’m careful
been used 3x a week, some long rides. some mtb (device only for road use tho!!)
communication is perfect but obviously they know I am doing/did a review.
TBH never really had to go back to them after the review
so the only issue now is elliptical chainring…and that’s my fault. any pedal based meter will have same probs there
buy them from SARAH here at sa***@cy**************.com, mention this review and you might get free ahipping. no-one should be allowed to discount I think so no point shopping around
Awesome, thanks ever so
Hello,
Thanks for the review. I’m considering between these and Vector 2.
Heard some people have complain loosing signal or power lower, than other PW shows.
What is your opinion now? Are you still using them. Is it worth to pay more and buy Vector2, for reliability?
power could be lower because the person is asymmetric and uses one sided PM. That is precisely true for me. but what it means is that the OTHER PM is wrong 🙂 (in my case)
I had a prob with power dropouts but that was fixed by getting a new Garmin 🙂
The only issue I have is with my weird pedal stroke after an injury which caused my shoe to rub against the unit
prob you will have is the waiting list. you can get a vector straight away. I reckon the dangly bit on the vector is MUCH more prone to damage
I still use them less than 5 mins to transfer between bikes.
Thanks for replay, I read user negative opinions on DC Rainmaker web site. Both bePro and Vector 2 are available right now. But my question do I really save anything on bePro when it unreliable ? I intend to use with Garmin 520
is garmin stuff reliable? look on their forums…LOTS of complaints about all their devices but from a larger user base. why look at rainmaker? look at some of the bike forums too. I use mine every week – I switche dit to single sided and compared to a ROTOR and a WATT bike…were differences but essentially v similar values.
Well, outside of two ocassional shutdowns of my Edge 520, I never had any problem. And I think, number of Vector owners in hundred times more, than people who own bePro.
For me is a problem to find whether I need to spend more money for Vector, or bePro will be good enough.
so I think it’s only an issue if it BREAKs/MIS-FUNCTIONs. bepro customer service has been good with me BUT I may be a special case to them because of this blog (or not).
Thx for the review.
After reading as much I could fine online about Power Meters I finally made the jump and got a set of bePRO S pedals. So far I’ve only used them a few times and overall they seem to work great, with a small problem.
I have them linked up to a Bryton Rider 310 computer (comparable in features to a Garmin 500). Static calibration is not a problem while the dynamic calibration seems a bit… unclear but it seems to be working. On the Rider 310 there is nothing that indicates a calibration success but the power numbers appears after a while and I assume it is ok. Connecting the pedals via USB it is possible to see how many successful dynamic calibrations have been done.
Now on to the problem.
When coasting the power and cadence data does not drop down to zero and this shows up on Strava as a flat line.
Have anyone else, or You, seen this? It could be an issue with the Rider 310. I am waiting for feedback from both Bryton and bePRo about this.
when calibrating the power disappears but cadence does not. when calibrated the power has returned.
I have not seen the behaviour you describe
Thx.
Just want to make sure here so there are no misunderstandings.
So when you are riding normally (all calibrated and good to go…) and stop pedaling your cadence and power drops to zero? (as expected).
Mine doesn’t. The head unit displays the last reading under power. It could be whatever power I was producing at that cadence, resulting in a flat-line section in the data.
yes. that is wrong and I do not get that
That is a very good lead.
Favero replied saying they think it is the computer and suggested trying another one (which I can’t) and I think I believe them. Still waiting for a reply from Bryton.
I did however see that there were a firmware update available from Bryton and the unit has now been upgraded.
I will report back here with results after the next ride.
Thx again.
if you get an ant+ usb stick you could use sporttracks to record something onto a pc…do you know anyone with a bike computer? even a bike shop would help for 5 mins to test a different cycling computer on your PM. there was as similar thing with mio/Magellan who quickly issued a firmware release to work with favero about 1-2 months ago…maybe related????
Update.
With the latest firmware update for the Bryton Rider 310 (version R024.003.0014) everything works fine.
Very happy with these pedals.
make sure there is NEVER any contact with the circular part of the pedal. Maybe even use no-float black cleats (I use grey at moment). with red there is too much swivel and you may often catch the circular housing bit…just saying…have a close look
Thx.
So far it seem like the entry-level Shimano road shoe (forgot name) with stock cleats works just fine. I put the cleat all the way ‘in’ (pushing the shoe out).
No sign of rubbing at all.
when you twist your foot. eg poor technique (me!) or when you unclip to dismount
If someone is interested. It was well known Bryton issue. They fixed it in firmware update few months ago and everything is fine now.
thank you Michal…I’m interested 😉 there was a similar issue with MIO Cyclo too
Maybe it is related and maybe a shop would be willing to assist for 15 mins to figure out where the problem is.
The Bryton Rider 310 is not on the list of officially supported computers as shown on the Favero website but it has ANT+ and I took a small gamble since it was so cheap ($90). Overall it is a nice computer and I can live with this issue even if it is annoying.
I converted the .fit file on-line to a .csv file and could read and edit it in ‘notepad’.
If nothing else helps I could write some kind of script to find the bad data and replace it with zeroes and then convert back to .fit.
access based fit file repair tool can fix your FITs
I found something like that but couldn’t figure out how it works.
Are you still happy with the Bepro’s after testing the vector 2 as well? Which one would you go for now at current prices, Bepro 625 or vector 2’s 750?
I *HAVE* both and have lent the vectors to a friend…not much in it either way.
MY issue is with how they handle elliptical chainrings so I want consistency so I stay with bepro
from new I would prob buy powertap
i’m sure that’s not helped at all!! my issues maybe different to yours
if price is the issue … you get the cheapest.
try my discount code of 10% on powermetercity.com. getting a discount on garmin is much harder
Hi,
Is there any manual for the procedure you’ve described? I cannot find it 🙁
“The left side saw a drop in power. You can follow a readjustment process in the firmware to up/downweight either side’s power. This requires a 10kg weight to be dangled off the pedal when horizontal and when calibrating. My LHS read as 1002. So this required -2% to be applied to the left pedal. Fairly straightforward and documented.”
Cheers,
Greg
yes it’s on the favero wwebsite in one of the pdf manuals. I had a quick look but could NOT find it. It 100% WAS there a few years ago, you’ll have to ask their support
Thanks. Do you remember whether it was done through favero updater application or a dedicated one?
There is a special calibration check described by Favero in their troubleshooting guide in Section 2.12 Verification of the static torque
STATIC WEIGHT TEST
https://www.google.com/url?sa=t&rct=j&q=&esrc=s&source=web&cd=1&cad=rja&uact=8&ved=2ahUKEwjKyKHk25DgAhXFZ1AKHSKlDtkQFjAAegQICBAC&url=https%3A%2F%2Fwww.cycling-parts.ch%2Fimages%2Fpdf%2Ffavero-bepro-bedienungsanleitung.pdf&usg=AOvVaw0nj2n6hngiq1dp8VeTQAAx